
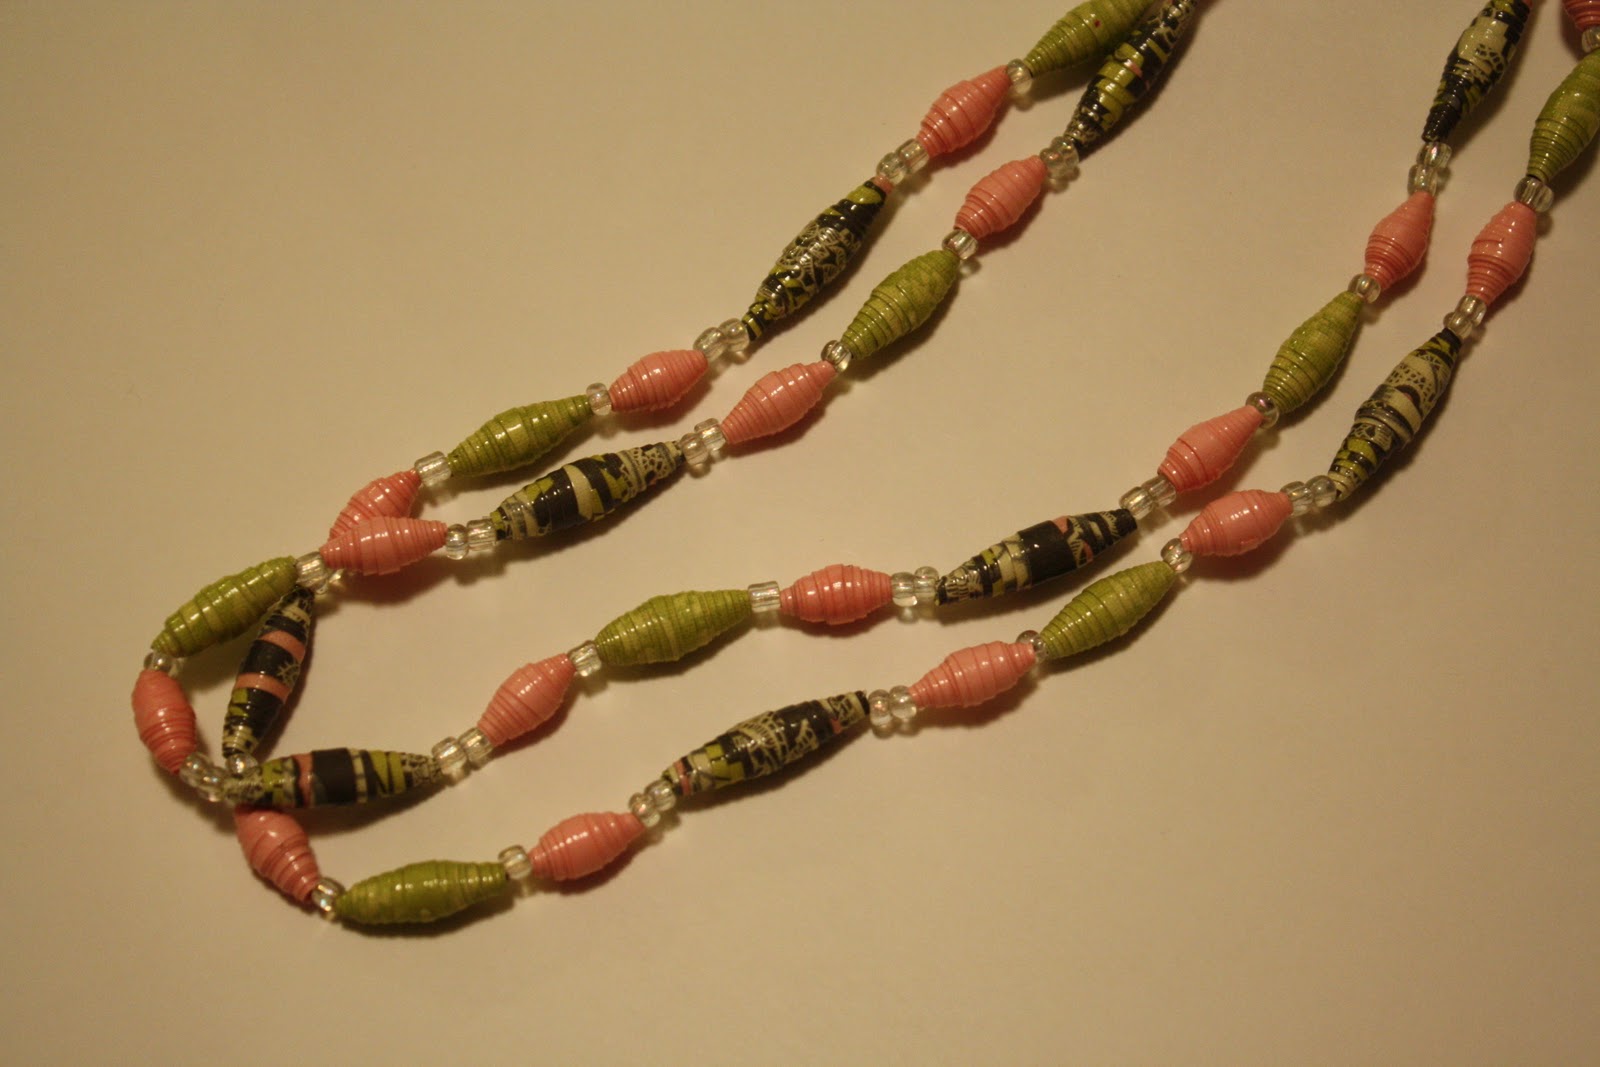
Today I'll be sharing a little tutorial on how to make a super-inexpensive (but cute) gift -- Paper Bead Necklaces!
Made with stretch elastic, these necklaces are a versatile gift. Depending on the length of necklace you choose to make, you can wear it as a long necklace, a double necklace (equal lengths or unequal lengths) or wrap around your wrist several times to make a bracelet.
Best of all, you really don't need any special tools...just a little time and patience.
Materials Needed:
- Scrapbook paper or magazine pages in the colors of your choosing
- Scissors (or paper cutter)
- Toothpick
- Glue Stick
- Modge Podge
- Paint Brush
- Stretch Bead Elastic (I found this for $2 at Walmart)
- Conventional Beads (optional)
Instructions:
- Cut your chosen paper into long thin triangles. The length of the bead will be equal to the bottom of your triangle. I used triangles that were 6 inches high and 1-inch, 3/4-inch and 1/2-inch at the bottom.
- Apply glue stick to the side of the triangle strip that you do not want showing. Don't put glue at the fat end because that is where you will place the toothpick - you don't want the toothpick to stick to your bead. There you will place the toothpick and roll the paper tightly around the toothpick into a bead.
- Press the bead firmly to secure the glue. Use more glue if necessary. (Note: Thicker paper will be more difficult to hold its shape.)
- For bead durability, apply at least three coats of Modge Podge to each bead. Allow to dry 15-20 minutes between each coat. Allow to dry completely.
- Unroll a length of beading elastic that is as long as you wish your necklace to be. Do not cut the elastic just yet. This will make it easier to keep the beads on as you strig them. String the finished beads in your desired pattern on the beading elastic. When all of your beads are on the elastic, take the cut end and tie it to the other end of the elastic that is still attached to the spool. Double or triple knot to secure the necklace. Snip the elastic off of the spool.
Looking for more homemade gift ideas? Check out these Satin Floral Hairclips or my Make It Monday Archive.
Do you have any homemade gift ideas? Share in the comments.
-----------------------------------
This post is linked to Frugal Friday. For other money-saving ideas, visit LifeasMOM on Fridays.
No comments:
Post a Comment